

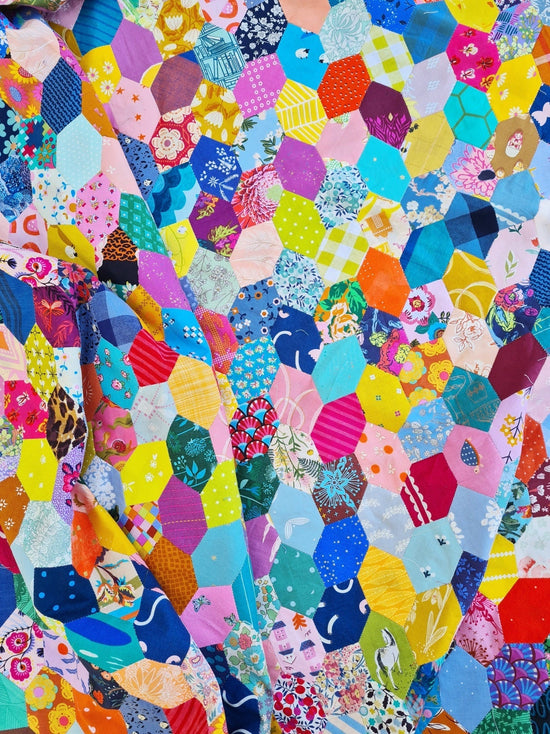
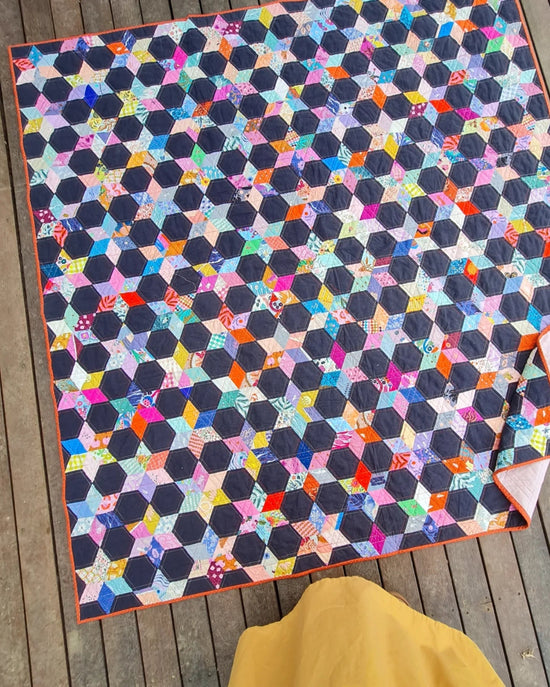
Orbit Quilt - A Free EPP Quilt Pattern

I originally created the Orbit Quilt for Love Patchwork magazine, and made both the full quilt pictured above, and a mini quilt with colourful octagons and white 4-point stars, without the corner pieces. That makes Orbit a quilt full of possibilities - big spaces for custom quilting, or make in just two colours for a modern quilt, turn the mini into a large cushion, or fussy cut the 4 point stars to give them focus.
Orbit is a free, easy EPP quilt pattern, perfect for beginners. Stitch up simple stars, join them with octagons, add a border, and watch it shine! It features an English paper pieced (EPP) centre and uses large, width of fabric quarter square triangles to create a unique border that positions the EPP on point in the final design. It's a stellar addition to my collection of free English paper pieced (EPP) patterns!
(If you need some help to get started with EPP, I've created a collection of beginner friendly tutorials to get you started here.)

Finished Quilt Size: 50" x 50"
Supplies
ENGLISH PAPER PIECES (download below)
- (224) 1 1/2” 4-point Stars (this includes the edge pieces)
- (64) 1 1/2” Octagons
FABRIC
- Stars: (33) 2 ½" x 9” strips (cut from the short side of a fat eighth piece of fabric) OR (16) 2 ½" x 21” width of fat quarter (WOFQ) strips OR (8) 2 ½" width of fabric (WOF) strips OR (196) 1 ½" x 2 ½" scraps
- Background: 2 ½ yds (this includes what you need for the octagons)
- Binding: ½ yd
- Backing: 3 ¼ yds
ADDITIONAL SUPPLIES
- 58" x 58" batting
- Rotary cutter/mat/ruler
- Embroidery scissors
- Hand-sewing needles (Bohin Milliners, size 9)
- 50-weight thread (Aurifil)
- Craft glue stick and/or Clover Wonder Clips for basting (see basting tutorial here)
- Sewing machine
- Iron

CUTTING INSTRUCTIONS
Stars:
- Fabric scraps: Cut the scraps 3/8" larger on all sides for all paper templates.
- Yardage: Orient the 4-point star pieces vertically on the 2 ½" strips and trim approximately 3/8" seam allowance between pieces. Cut (196) 4-point star pieces.

Background Fabric:
-
Octagons: Cut (8) 4 ½" width of fabric (WOF) strips. Sub cut into (64) 4 ½" squares.
- Edge triangles (made from excess 4-point star pieces): Cut (1) 2 ½" WOF strip. Orient the 4-point star pieces vertically on the 2 ½" strip and trim approximately 3/8" seam allowance between pieces. Cut (28) 4-point star edge pieces.
- Large border triangles: Cut (1) 42” x WOF piece for the border. Trim the selvedge as needed to make it square. Fold the 42” background square in half diagonally to make a large triangle. Press along the fold. Fold the triangle in half again and press along the fold. Open the piece out and cut along the press marks, as shown in the diagram.

Binding:
- Cut (5) 2 ½" x WOF strips.
STITCHING THE STARS
1. Prepare all the pieces for the quilt by basting the fabric to the paper templates.
2. Arrange (4) basted 4-point star pieces as shown in the diagram. Stitch two adjacent star pieces along a short edge.
3. Repeat step 2 for the other two pieces of the star.
4. Stitch the two halves of the star together to complete the block. Make 49 stars.

STITCHING THE ROWS
5. Lay out the star blocks so that you are happy with your colour placement. Snap a photo with your phone to use as a guide.
6. Take an octagon and nestle it into the top left gap of the first 4-point star. Stitch along the seam, secure, but do not cut your thread.
7. Stitch the next octagon to the top right side of the star.
8. Without snipping your thread, stitch the next 4-point star below the second octagon.
9. Continue building the row with stars and octagons until you have 8 octagons and 7 stars. Make 7 rows.

ASSEMBLING THE QUILT TOP
10. Stitch row 1 to row 2.
11. Continue to add the rows one at a time, and remove the papers, if desired, once a row is completely surrounded. Doing so as you go makes the quilt easier to manage as you stitch subsequent rows. But, if you prefer, you can wait until the quilt centre is completed before removing papers.
12. Once the rows are stitched together, stitch a final row of octagons to the bottom of the piece.

13. Fill in the outer edge gaps between the octagons with the background 4-point star shapes (shown as triangles in the diagram).

14. Once the quilt centre is complete, remove any remaining papers and press the quilt top flat. Along the outer edges, press the seam allowance open and away from the centre of the quilt top.

15. Trim the excess quilt top ¼" beyond the seam line where the papers have been.

ADDING THE BORDERS
16. Centre the long side of one background border triangle over one side of the quilt top. Pin in place. Machine sew the border triangle to the centre with a ¼" seam allowance. Press towards the border.
17. Sew the next background border triangle to the opposite side of the quilt top. Press towards the border.

18. Trim the excess off the triangles to line up with the edges of the centre.

19. Sew the remaining 2 triangles to the other 2 sides of the centre. Press towards the border.
TIP! To prevent the biased edges of the border from stretching out of shape, stitch around the entire perimeter of the quilt top approximately 1/8" from the edge before continuing on to the next step.

FINISHING
20. Layer the backing (wrong side up), batting, and quilt top (right side up). Baste the layers together. Quilt as desired. The featured quilt was machine quilted in diagonal lines across the quilt top going through the stars in the centre.
21. Sew the binding strips together end to end using diagonal seams. Press the binding in half wrong sides together.
22. Leaving an 8" tail of binding, sew the binding to the quilt through all layers, matching all raw edges. Miter corners. Stop approximately 12" from where you started. Lay both loose ends of binding flat along quilt edge. Where these two loose ends meet, fold them back on themselves and press to form a crease. Using this crease as your stitching line, sew the two open ends of the binding together right sides together. Trim seam to 1/4" and press open. Finish sewing binding to quilt.
23. Turn the binding to the back of quilt and stitch in place.

Ready to make this free EPP quilt pattern?
Click the button below to have the FREE printable paper templates and colouring sheet delivered right to your inbox!


Thank you for the pattern. I have some octagon shapes, using them to make another pattern. Now I have your pattern to use it for another quilt. Interesting that you call the “star” shapes stars. I have always known them as kite shapes.
Thank you for the lovely pattern and emailed templates I have started cutting out with my scraps, looking forward to start stitching. 😊
I really like your patterns. The designs are fresh and modern. I’m grateful too for the detailed instructions, makes the process so much easier.
Thank you. Will enjoy this pattern
What a lovely pattern. Thankyou for your generosity for sharing the pattern. Do you sell the paper shapes that is required also? I am a bit worried about my cutting and getting it accurate. Thanks again ,❤️
Leave a comment